Choosing the Right Film Print Paper

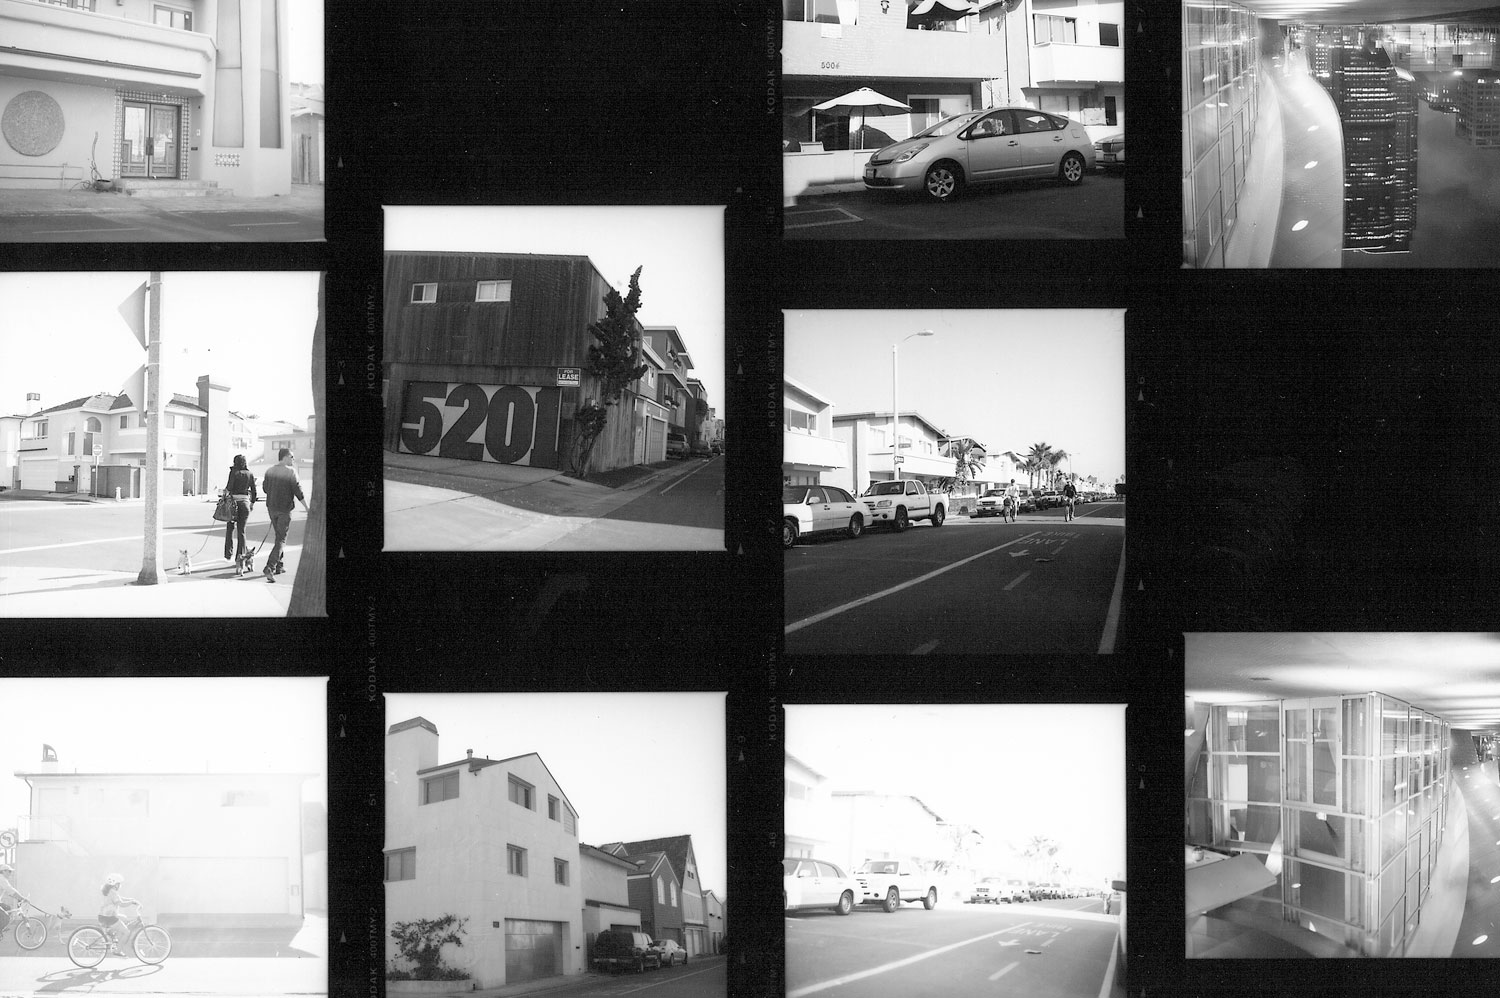
Photo by SupportPDX. Licensed under CC BY 2.0
Guest article by Jordan Mendys
When you are starting out making your own prints, you are going to be faced with a lot of different film paper decisions, and if this is your first time shopping, it can be very overwhelming. As with everything in film photography, there are pros and cons with each decision, and every paper can serve different purposes for your desired end result. Below is a quick start guide to picking out a photo paper that is right for you.
Resin Coated vs. Fiber Based
The first thing that you should decide on when you pick a photo paper is if you want fiber based or a resin coated paper. Each has its own perks, and you’ll have to decide what is best for you. Resin coated photo paper is cheaper, and that is the first thing you’ll notice. If you are starting out developing your own prints, this is a perk because you won’t feel bad about having to reprint. The other perk with resin based is that is dries flat, and so you can go from drying your print to framing it if you wish. Resin based prints are also more likely to be scratched or damaged than a fiber paper. For archival purposes, if you are making a print that you want to last forever, resin coated is not the nest because it will eventually start to crack, and most prints have a 50 year life, which might be enough for you.
Fiber based paper is the next choice. While it is more expensive, the fibers are strong, and your print can last a very, very long time. The fiber based paper is also a thicker construction, so the prints are sturdy and less likely to be damaged by small mishandling. One thing that you will encounter with fiber based paper is that it does take some time to go from drying to framing. Fiber based prints dry curled, and you’ll have to flatten it out before you matte it or frame it, but if you have the time, this shouldn’t dissuade you from fiber paper. Also with fiber based paper you can do more processing with toners that typically do not take on resin coated papers.
Photo Finishes
There are a couple of different finishes for photo paper; glossy, semi-glossy, and matte. A glossy finish makes the photo photo pop, and gives it a great luster. Glossy paper is really good if you want to show off high contrast and vivid images. The issue with a glossy finish, however, is that it is more susceptible to a glare, and every little mistake shows up more. For instance, a finger print will stand out very much on a glossy print. Glossy prints will also have issues with showing scratches or other mishandling.
Matte paper does not have the same pop and luster of glossy prints, so you should first make sure that nothing will be lost in your photo with a duller finish. On the other hand, a dull look maybe also be the aesthetic you are looking for, especially if you are going for a low-contrast or subdued feel. Other benefits of matte paper is that the surface will not retain as many blemishes as the glossy papers will, such as fingerprints and scratches. You can also help remedy the flat look by framing the photo with glass rather than simply matting it.
Semi-gloss, of course, falls in between these two categories of paper. If you want the benefits of both papers, and your prints won’t suffer by not using a paper on one of those extreme ends, then this is the perfect paper for you. You can still get some pop in your prints without having to worry about every little blemish coming through, and you’ll still retain more vividness than with a matte print.
Variable Contrast vs. Graded Paper
This is a very important consideration when you are deciding the paper to use for your print. This gives you to ability to decide how much contrast you want for your photos. With graded paper, you can get a paper that has “built-in” contrast, ranging from 00-5 (5 being the most contrast). If you know what contrast you want in your photo then you can purchase the proper grade for your desired result. This is good for a series because contrast should more or less be the same from photo to photo.
With Variable Contrast paper, you add the contrast by using the contrast filters with the enlarger that you are using. The grades of filter are also the same, a 5 being the most contrast. This way you can have more control with how much contrast you want in your final print, and you can also play around with different contrasts by doing test strips before you make a final print. If your object is to make nice prints without the concern of it having to fit a larger series, this can be great for your developing needs.
This should be a good start to you selecting a photo paper that is right for you. Remember, depending on the nature of your work, you may not always use the same type of paper. It is encouraged that you try different papers and brands to see what fits you best. As with everything in photography, the more you do it, the more you’ll nail down your tastes.
Jordan Mendys is a freelance photographer and filmmaker from North Carolina.


