Use Depth of Field to Create Unique Photographs
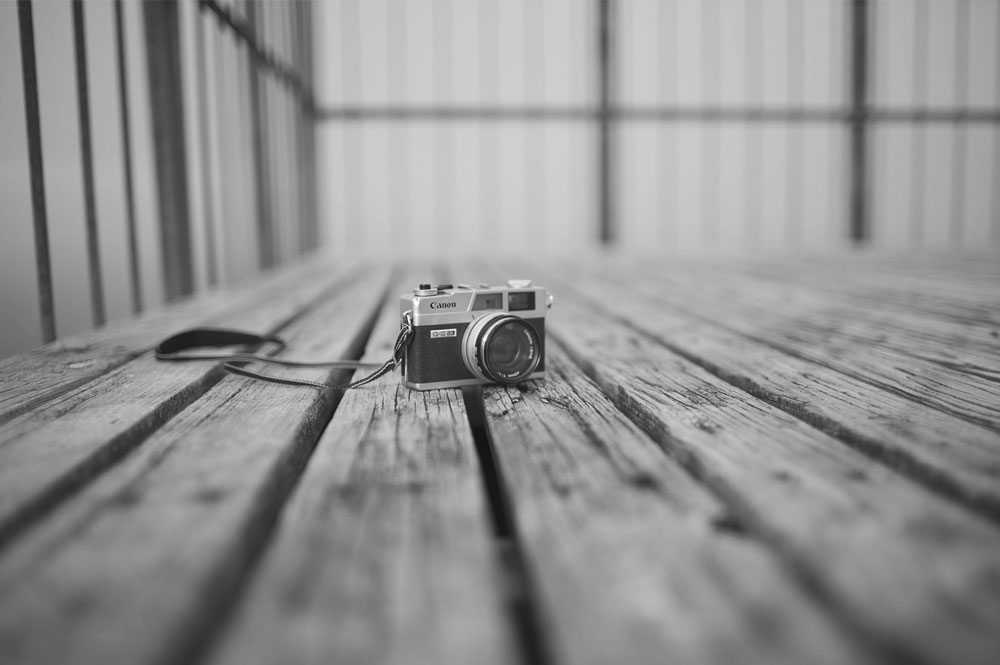
Photo by maridelsander. Licensed under CC BY 2.0
What is Depth of Field in Film Photography?
Depth of field is one of many basic film photography techniques to heighten the look of a photograph. Succinctly put, it is the distance between the foreground and background of the subject that appears to be in focus. There are two types of depth of field – shallow and great. Shallow depth of field involves one point of focus with the foreground and/or background blurred. Conversely, great (maximum) depth of field puts nearly everything in focus. Change in depth of field is not an immediate transition between sharp to unsharp. Instead, there is a gradual transition of sharpness to fuzziness to totally out of focus areas.
How to Control Depth of Field in Film Photography
Depth of field is controlled, mostly, by the aperture settings of the camera lens (it can also change depending on the focal distance of the subject to your camera). To achieve a shallow depth of field, the aperture needs to be opened more (smaller f-stop numbers). Conversely, small aperture openings (larger f-stop numbers) will equate to a great depth of field. You should also keep in mind that as the aperture becomes smaller the camera requires more light and a longer shutter speed, making great depth of field more difficult without the use of a tripod.
Great Depth of Field and Diffraction
While any guide to photography will point out that the smallest aperture should be used any time the photographer wishes to have the greatest depth of field, this will pose two problems. As previously mentioned, the immediate problem is that you will likely need to use a tripod as the shutter speed will be long. The second issue is what is known as diffraction. Diffraction is an optical effect that will cause some softening effects that will offset any gain in sharpness due to the smaller aperture. This effect is usually negligible, particularly for standard 35mm single lens reflex (SLR) cameras that most beginners use with film photography. However, it should be noted to help you limit and avoid any softening due to diffraction.
Diffraction happens as the small aperture brings in light rays. These light rays normally pass through a film camera lens parallel to each other. But when smaller apertures are used the light rays will begin to veer and interfere with one another. This unbalance of light rays may cause a softened look to your photographs. Again, diffraction occurs to some extent at all levels of film photography but is only noticeable as the size of the aperture significantly decreases.
Photography Tips for Testing Depth of Field with Film Cameras
Much like the rest of film photography, you will not know for sure how your image looks until it is developed and processed. However, many newer 35mm film cameras and lenses have a feature called depth of field preview. After setting your aperture you can press a button on your camera body to preview the depth of field through your viewfinder. This is a great built-in photography guide for those who are learning and you may want to consider purchasing a camera and lens that supports this previewing.
Please note, however, that depth of field preview has some flaws. When you set your aperture to a smaller opening, less light is allowed through the camera lens and the image will appear dark through the viewfinder. In some instances, your viewfinder will be too dark to even view the preview. Please note your image will not turn out this dark if you correctly set the shutter speed for proper exposure.
If you do not have a depth of field preview setting for your camera it would be best to take multiple photographs of the same scene using different apertures so that you can see for yourself which aperture will yield which amount of sharpness. Be sure to take notes on what apertures you used so that you can review after the film is developed.


