Quick Guide to Black and White Photography Part 6 – Developing B&W Film
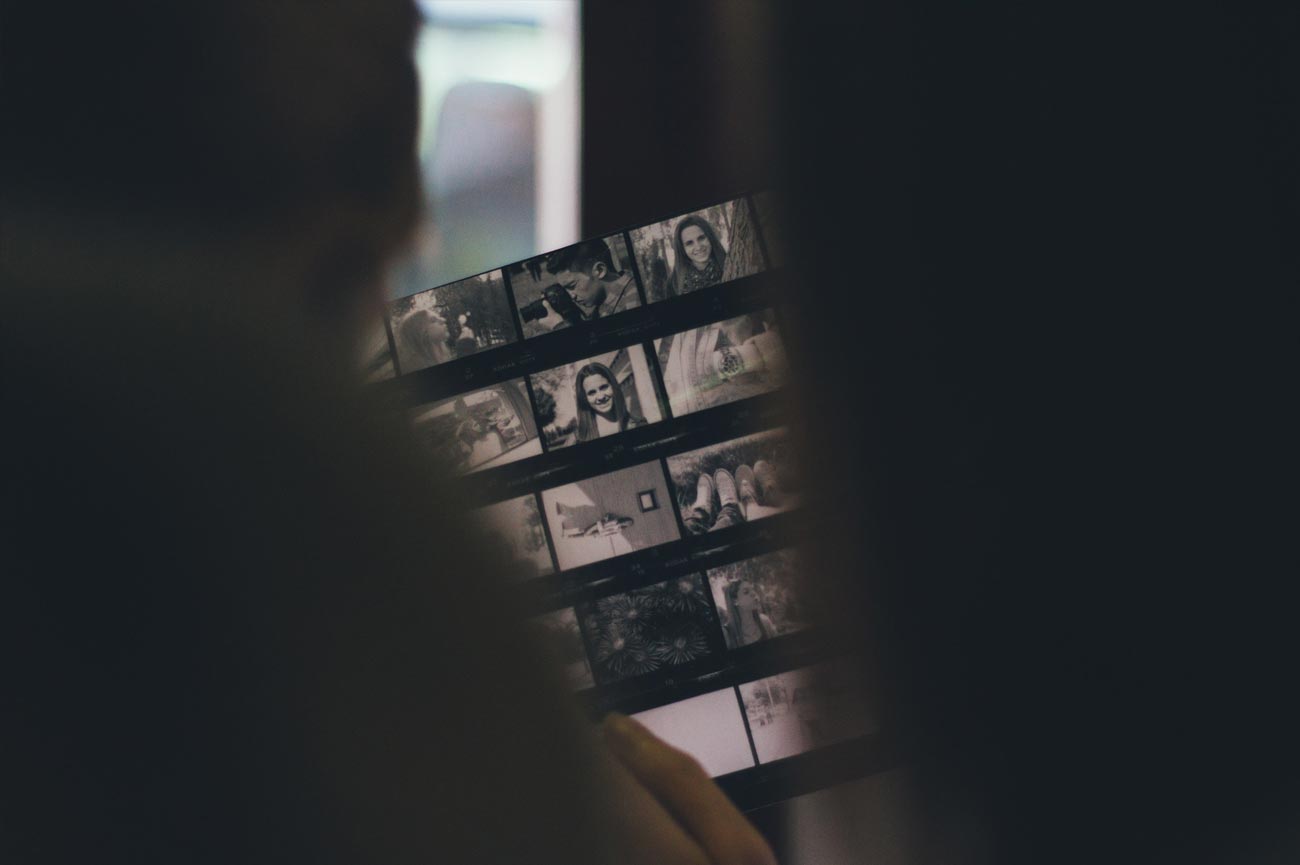
Photo by Leo Hidalgo. Licensed under CC BY 2.0
Developing Black and White Film
The development process of black and white photography is fairly straight forward, however the development times vary depending on temperature of the liquids, what film you are using and the developer you use. This guide makes general suggestions for film development but you will need to use the development time for your specific combination of film, developer and temperature. It should also be noted that if you have multiple rolls of film to develop, including multiple brands or even multiple film speeds, the development time is likely to vary and you should not develop different rolls of film together.
There are six steps in the black and white film development process.
- Developer. This chemical causes the salt grains that have received enough light in the emulsion layer to be converted into pure silver.
- Stop bath. This stops the development of the film.
- Fixer. This “fixes” the film so that it is no longer sensitive to light. Once fixer has been applied you can no longer expose the film.
- Water rinse. This rinses out the fixer and any remaining salts.
- Drying aid. This is designed to help eliminate water spots as the film dries.
- Drying. The film is hung in an environment that is as dust-free as possible to dry.
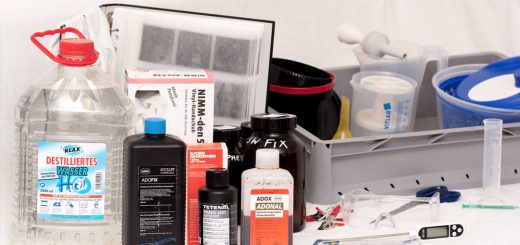
In order to develop black and white film you’ll need a few key supplies.
- A thermometer that can read from at least 60° F to 90° F.
- A clock or timer that shows minutes and seconds to help time your development.
- Measuring containers with markings in ounces, or whichever liquid measurement system works best for you.
- A stirring rod to help mix the chemicals.
- Clips, such as clothes pins, to hang the film for drying.
- Optional: A funnel to help pour chemicals.
Development Chemicals
As previously stated, there are many film developers available that typically come in liquid or powder form. All developers need to be diluted with water before applying to the film. Powder-based developers need to be mixed for each use while the liquid developer can either be mixed as a larger batch in advance or mixed for each use. Read the manufacturer information for the correct ratio mix of developer to water. Stop bath and fixer similarly needs to be diluted with water. With that in mind, here are the general steps to developing film.
- Measure the size of your development tank if you do not already know it.
- Mix the appropriate amount of developer with water at a temperature ranging from about 68° F to 72° F. If your water is too hot you can place the container of water in ice to bring the temperature down.
- Based on the temperature of your water, the developer you’re using and the film (including film speed); check your developer’s recommended development chart. Development time is usually 5 to 10 minutes. Here is the recommended times from http://www.kodak.com/global/plugins/acrobat/en/professional/products/films/bw/processChartLo.pdf”>Kodakand http://www.ilfordphoto.com/aboutus/page.asp?n=87&t=Developing+Black+and+white+film”>Ilford.
- Remove the pour lid on your development tank and pour your developer mix into the tank. Replace the pour lid. Note: Do not remove the entire lid as this will expose your film and ruin it. The pour lid is a secondary lid that keeps light out but allows the chemicals to be poured in.
- Agitate the development tank for the first 5 seconds by turning your wrist to invert the tank upside down and back a few times. After 5 seconds of agitation firmly tap the tank on a firm surface two or three times. This step is meant to dislodge any air bubbles that may have formed during agitation.
- Repeat a 5 second agitation every 30 seconds for the remainder of the development time. After each agitation firmly tap the tank on a firm surface to continue dislodging any air bubbles.
- At the conclusion of development time pour the chemicals out of the tank through the pour lid.
- Fill the tank with your diluted stop bath and agitate continuously for 30 seconds. Dump the stop bath.
- Pour in the diluted fixer and agitate continuously for the first 30 seconds. Firmly tap the tank on a firm surface. Fixer time is dependent on developer instructions but is generally around 5 minutes.
- Repeat agitation every 30 seconds for the remainder of fixer time, tapping the tank on a firm surface after each agitation.
- Fixer can be reused and saved in a separate container. If negatives begin to show a color stain after fixing then the fixer may either be exhausted or the fixing time was too short.
- Rinse film in the tank under running water for 10 to 20 minutes. When the tank begins to overflow dump the tank and repeat.
- Use a drying aid, such as Kodak Photo Flo, for 30 seconds with gentle agitation.
- Carefully remove the film for the tank and reel and hang in a clean, dust-free environment. Use clips, such as clothes pins, to hold the film at the top and bottom and prevent the film from curling as it dries. Hold the film only be the edges as it is very prone to scratches while still wet.
- Film may take anywhere from 15-30 minutes to dry.
Now you should have a developed roll of film with all of your negative images. If for some reason your negative images did not turn out please see this page regarding common exposure and development errors.
Once the film is developed and dry you’ll want to continue storing it in a safe, dust-free environment. Acid-free/archival plastic negative holders should be purchased to keep your film in a closed binder or acid-free box. These plastic sleeves generally fit 5 or 6 negatives, so you will need to cut your film down, and help keep out dust. Never cut your film into smaller strips than necessary and never cut the negatives into single frames. When you begin printing black and white photography in the darkroom your negative will need some length to be held in the enlarger. It is also unnecessary to trim down your negatives more than you need to.
To safely handle your film always grab it by the edges and try not to touch the actual exposed image. Subtle scratches may result from improper handling of your film and these marks may show on the final print. If you want to be really cautious you can handle the film with cotton gloves.
Now you’re ready to head into the black and white photography darkroom.
